Configuring X-Collector
Before connecting X-Collector to supOS platform, make sure you have added sources and tags to X-Collector. Each source represents a device and tags are data related to the device.
Both source and tag can be imported in batches. Make sure the encoding of files that contain source or tag information is converted to UTF-8 without BOM, to avoid abnormal display of Chinese characters.
Adding Sources
The operation is similar for different types of collector, and this section uses RTD Collector as an example.
- Log in to X-Collector, and then select RTD Collector > Source.
- Click Add and then enter the collector information.
Different types of driver corresponds to different information. For details, see Supported Driver.
- Source name: The source name must be starting with a letter, and only letters, numbers or underscores. The length should be no more than 50 characters.
- Driver name: Select a driver type.
- Description: Description of the source. The maximum length is 200 characters.
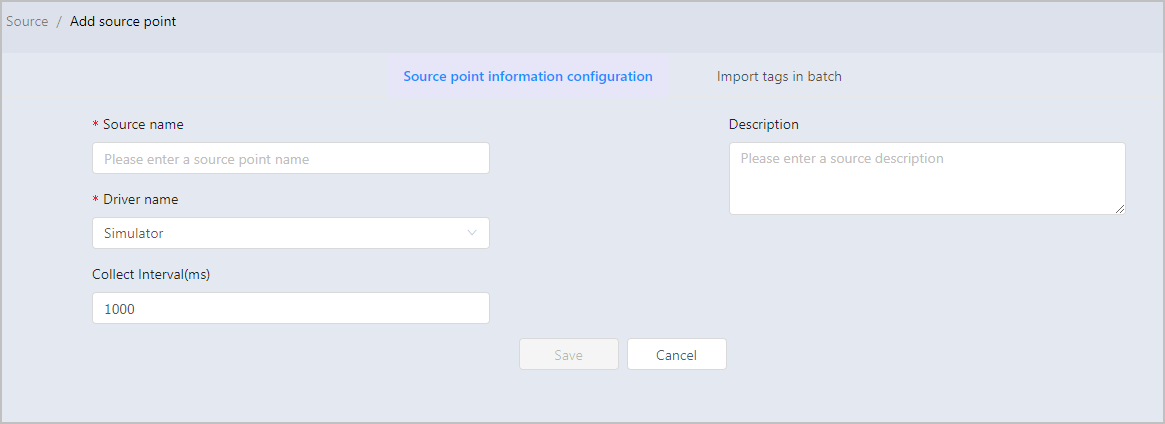
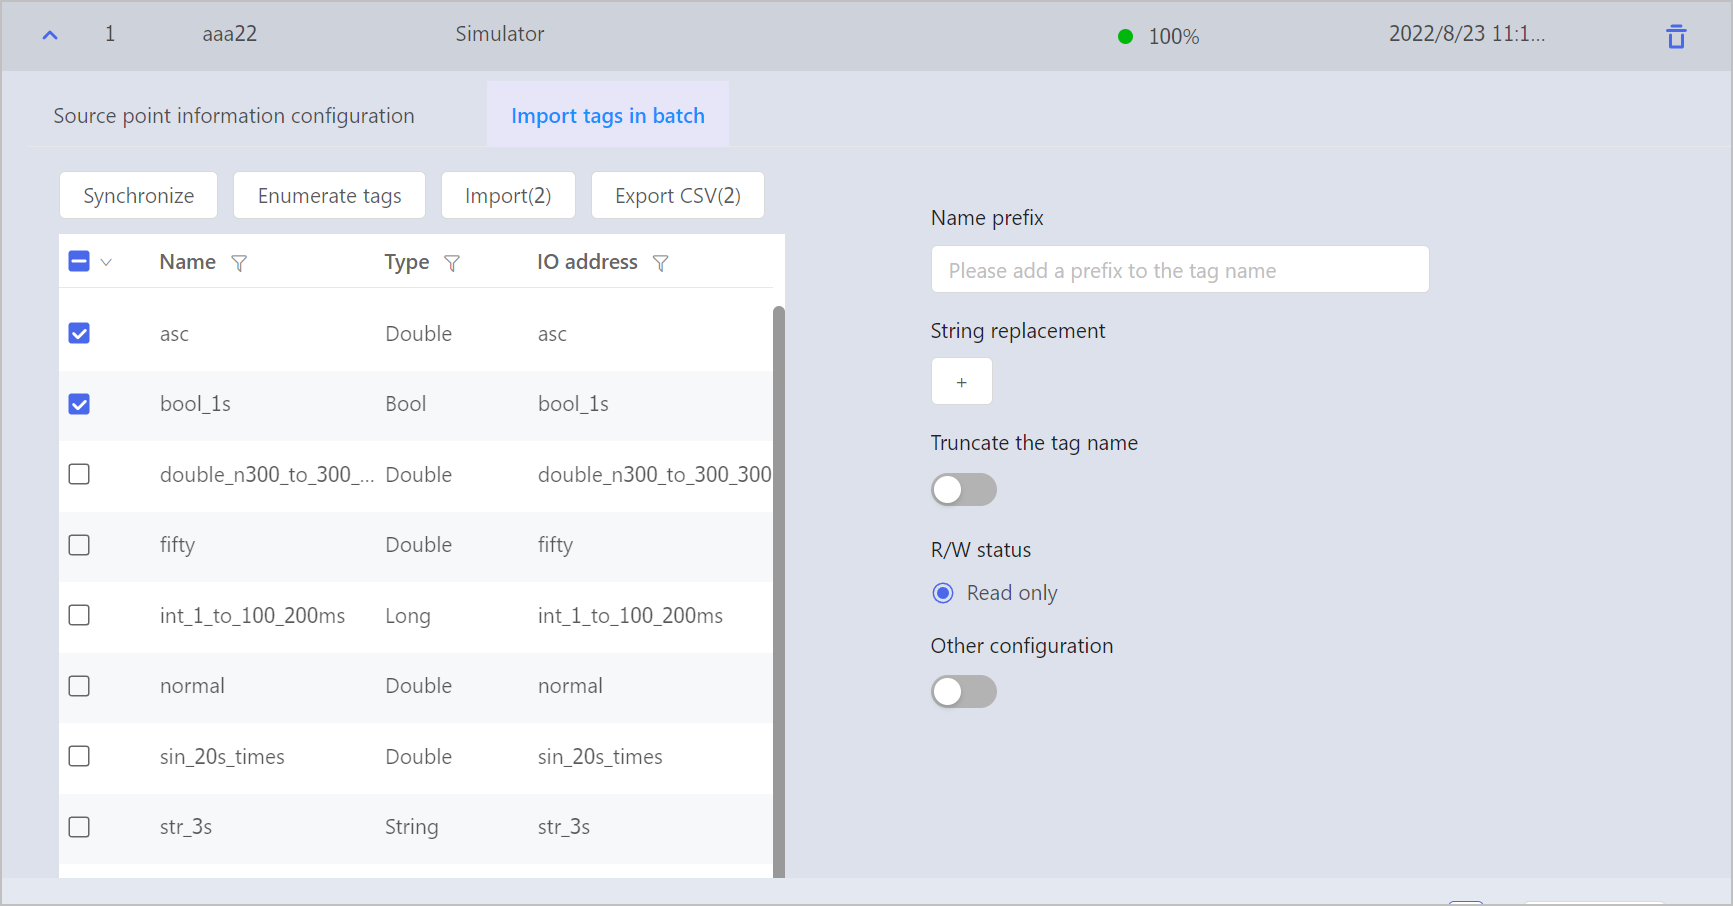
- Click Import tags in batch tab to synchronize tags connected to the source, and then click Save.
- Click Synchronize to only synchronize new tags.info
For first time synchronization, all related tags will be synchronized.
- Click Enumerate tags, all tags connected to the source are listed.
- Select tags, and then click Import or Export CSV to import selected tags to X-Collector or export to local computer in .csv file.
- Select a tag, you can edit its parameters on the right side.
- Some types of collector do not support tag synchronization.
- Interfaces of tag synchronization are different depending on the driver type. This section uses Simulator as an example.
- Select an added source, under Source point information configuration tab, you can edit the source information. Fields that are grayed out cannot be edited.
- Under Import tags in batch, you can synchronize tags connected to the source as well.
- (optional) With the added sources, you can import sources in batches.
- Click Export to download a .csv file of current sources.
- Use the exported file as a template and enter information of sources you want to import based on the file requirements.
- Click Import, select the file and import it to X-Collector.
Adding Tags
A tag is the smallest unit corresponding to a specific attribute of a source. Aside from tag synchronization, you can also manually add tags or import them in batches.
- On X-Collector, select RTD Collector > Tag.
- Click Add, enter the tag information and then click Save.

For writing data back to equipment, you need to set R/W status to R/W. For details on data writing back, see Data Write Back.
- Select the tag you just added, click Export.
- Enter tag information on the .csv file exported, and then select an import method by clicking Import.
- Override import: Imported tags replace original tags.
- Incremental import: Keep tags with same aliases as original tags, and import new tags.
For fields with Bool data type, make sure to enter true or false in lower case for X-Collector to recognize.
- Select the file, and then click Open to import tags to X-Collector.
- Click Online debugging to debug all tags, see if they work properly.
- Select tags, and then click Read-only setting to make their data read-only.
- Select tags, and then click Delete to delete them.